


Tool 0 is set to x=0 y=0
Tool 1 is set to x=33 y=0
Don’t think this will make any difference until you start printing with both heads.
below is the calibration file for dual heads need to change the extension to .x3g
Dual Nozzle Calibration.gcode (4.5 KB)
I used this file to align my heads
Check to make sure nothing is loose.
Send me your factory file.
Where do I get my factory file from?
Goto file save factory file as.
Can’t help you much with Simplify3D. Also dont think you can ad a brim with MPrint (only a purge wall which is a bit of a waste of filament but good for letting layers cool).
As for your roof having holes, in MPrint, if you go into “create profile” and edit the C code, you can increase the roof thickness, thus getting rid of those holes on the top. There’s alot of options when editing the C code, and It’d be possible with months of testing to really push the limits of the printer. (also I recommend for MPrint always printing on “High” quality" and changing your layer height, infill etc to suit).
As for brims, I use Solidworks, and sometimes i’ll design my own support. Also if im printing a small print, and want a pause between layers to let it cool (so it doesnt warp), ill insert a thin “wall” roughly the same height as the object on the opposite end of the print bed.
Just a couple tips.
Problem is fixed. Turns out the x pully was going lose. I would snug it up and it would work its self lose. Put a second set screw in and its perfect. Thanks for all the help.
Now for issue 2. My left extruder is not feeding. Just does the slow twitch like the current is set to low. Slapped a high current pololu driver in and same thing. Swapped the steppers and same thing. If I push on the filament is will feed but on its own it just does the twitching. Also the temp is set to 230c so its more then hot enough and the nozzle is clear. So this is what I know for a fact.
-stepper is good.
-drivers are all good.
Could this be an issue with the wording harness for the stepper? My flukes batt is dead so in the morning I’ll get a new 9v and probe it out.

I had an issue with my extruder where the header pins were loose/one of the wires wasn’t making good contact with the pin on the stepper. It would cause the same “twitching” i think you’re speaking of.
The way i determined this was by simply running load filament and wiggling the connection into the stepper. Sometimes it’d suddenly feed with no issues. I remade the connections with fresh female header pins, soldered, not crimped, plenty of heatshrink for support and it’s been fine.
Got it fixed was a break in the wire. So how do i go about setting up the dual extruders for a test print.?
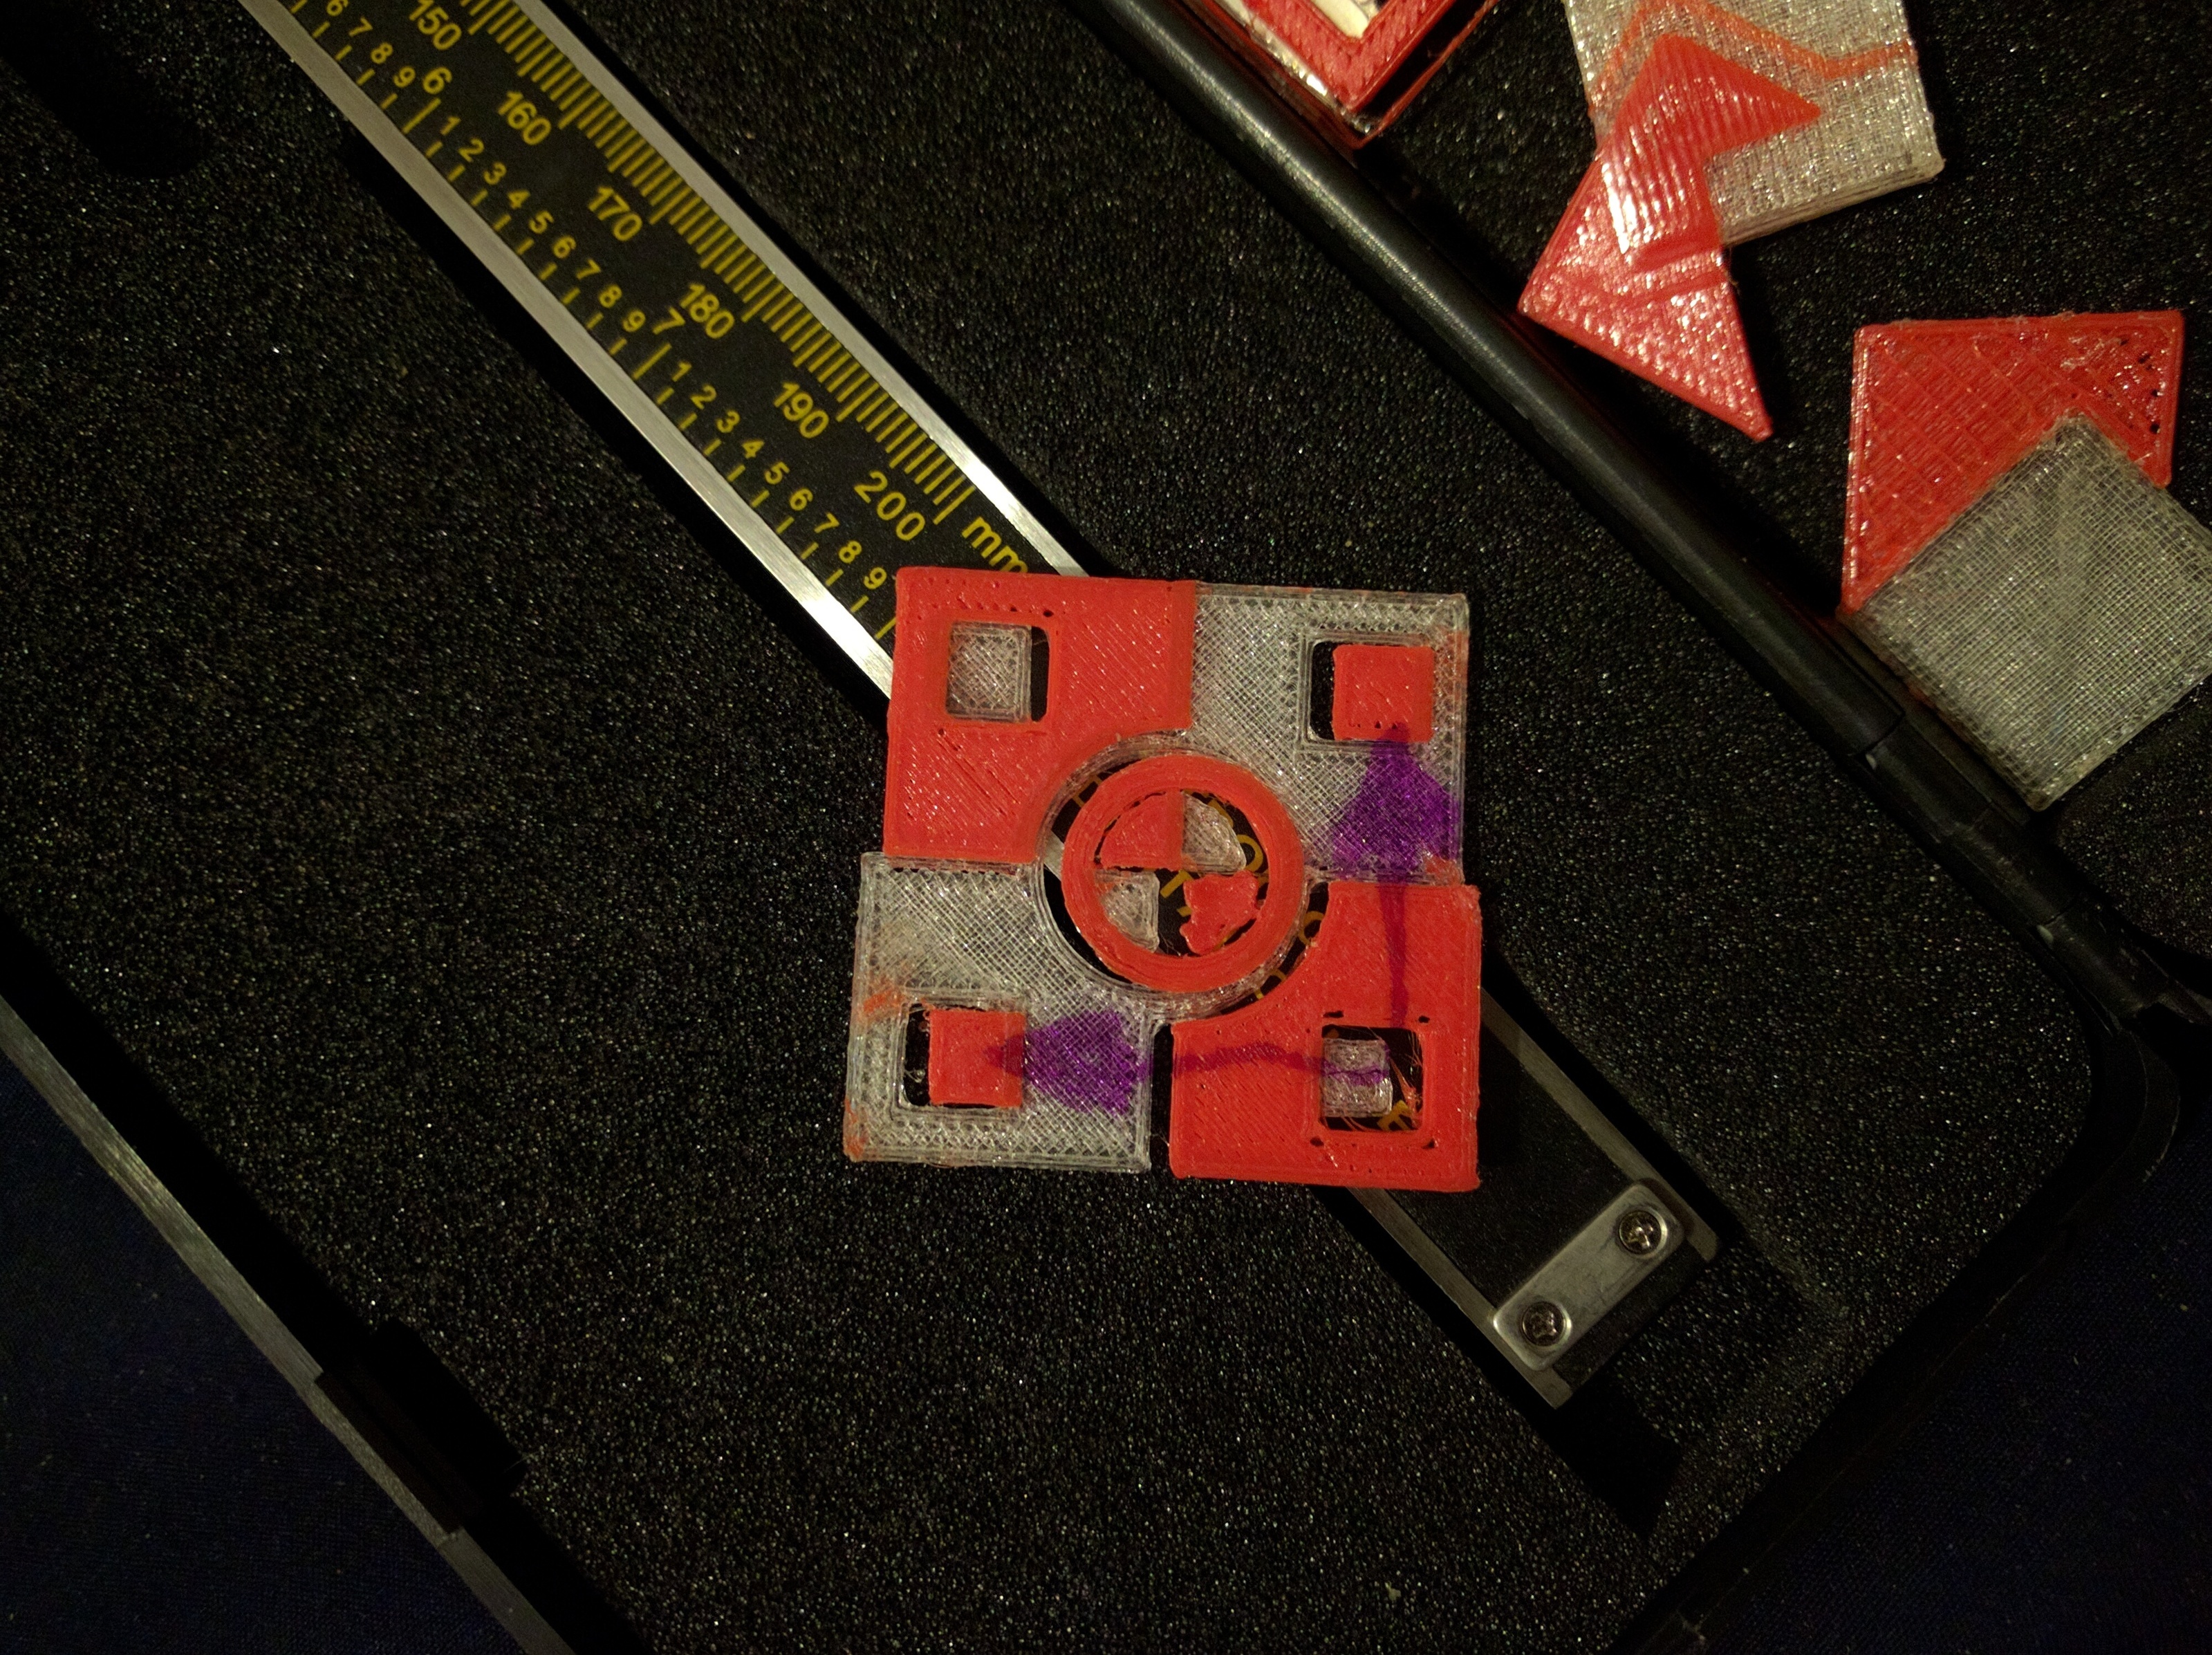
Use the calibration file I uploaded to print out a grid as shown in the mprint manual page 6. Input that information into the tool offsets menu in the printer.
Download and print the file i linked to on thingiverse. Rotate the part so that where the two parts join they are in line with your x and y axis. Adjust offsets till you get it perfect.
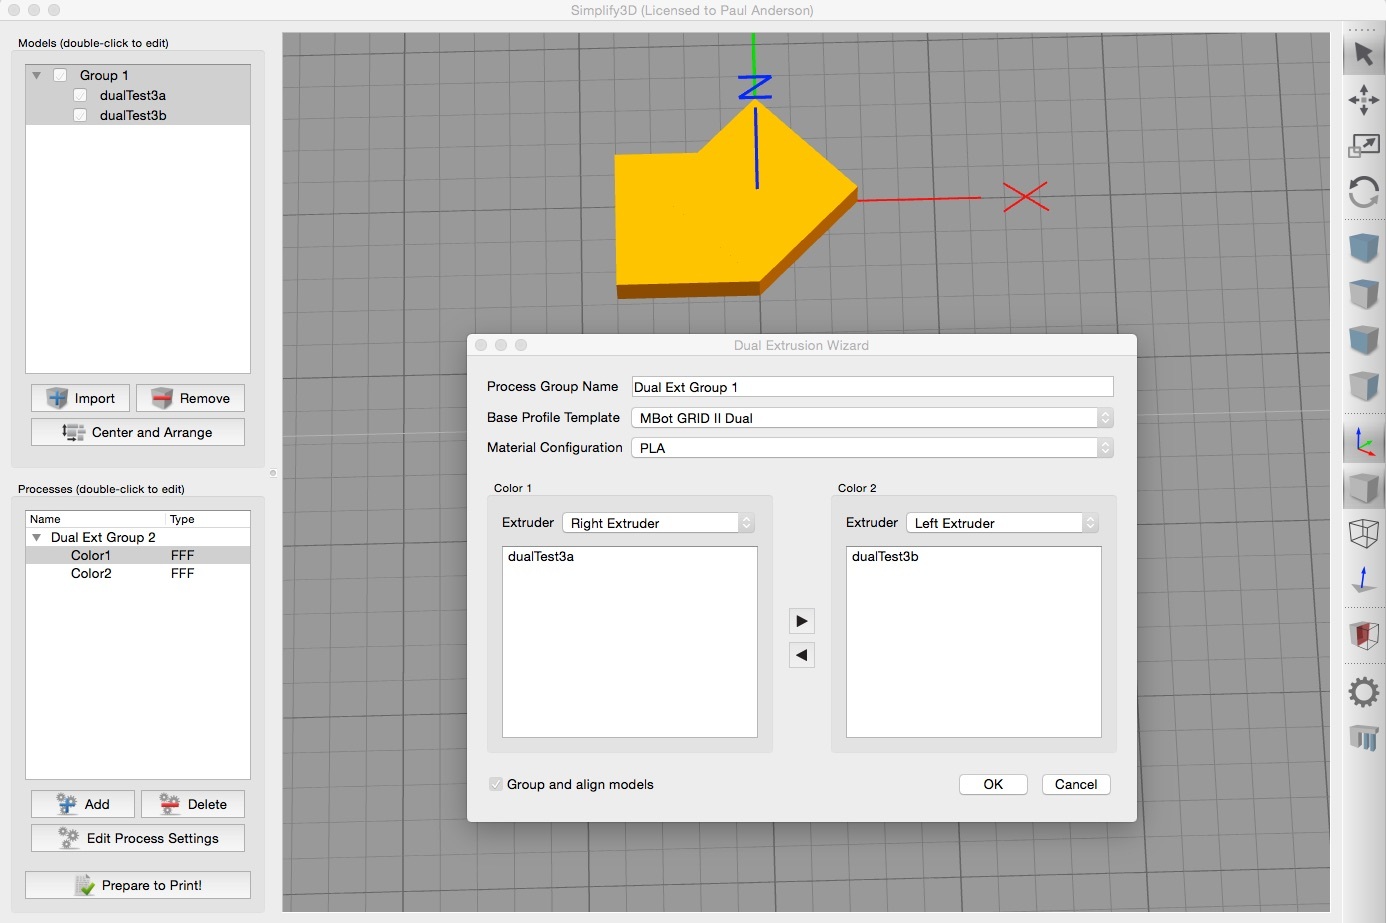
Ok. How do i pick what exturder i want to pprint what part? The wizard just crashes the head
Import the two parts into simplify3d.
On the menu goto tools, dual extrusion wizard. Here you will get to choose which part gets printed with which head. This create two processes color1 right extruder and color2 left extruder. Make sure group and align models is ticked and click okay.
You can now edit each process to match the relevant extruder.
When i use the wizard the head crashes into the table. Do i have to repaste the code back in after i use it?
If you mean the startup script then yes. Unfortunately the original code is embedded into the system so if you make any changes to the profile it resorts back to the old version. I have passed my script onto simplify3d so hopefully they will update the system. Just check the startup script if it says; **** GRID II start.gcode **** at the top then it is going to crash. You can usually prevent this by saving your own profiles this will keep the script in it.
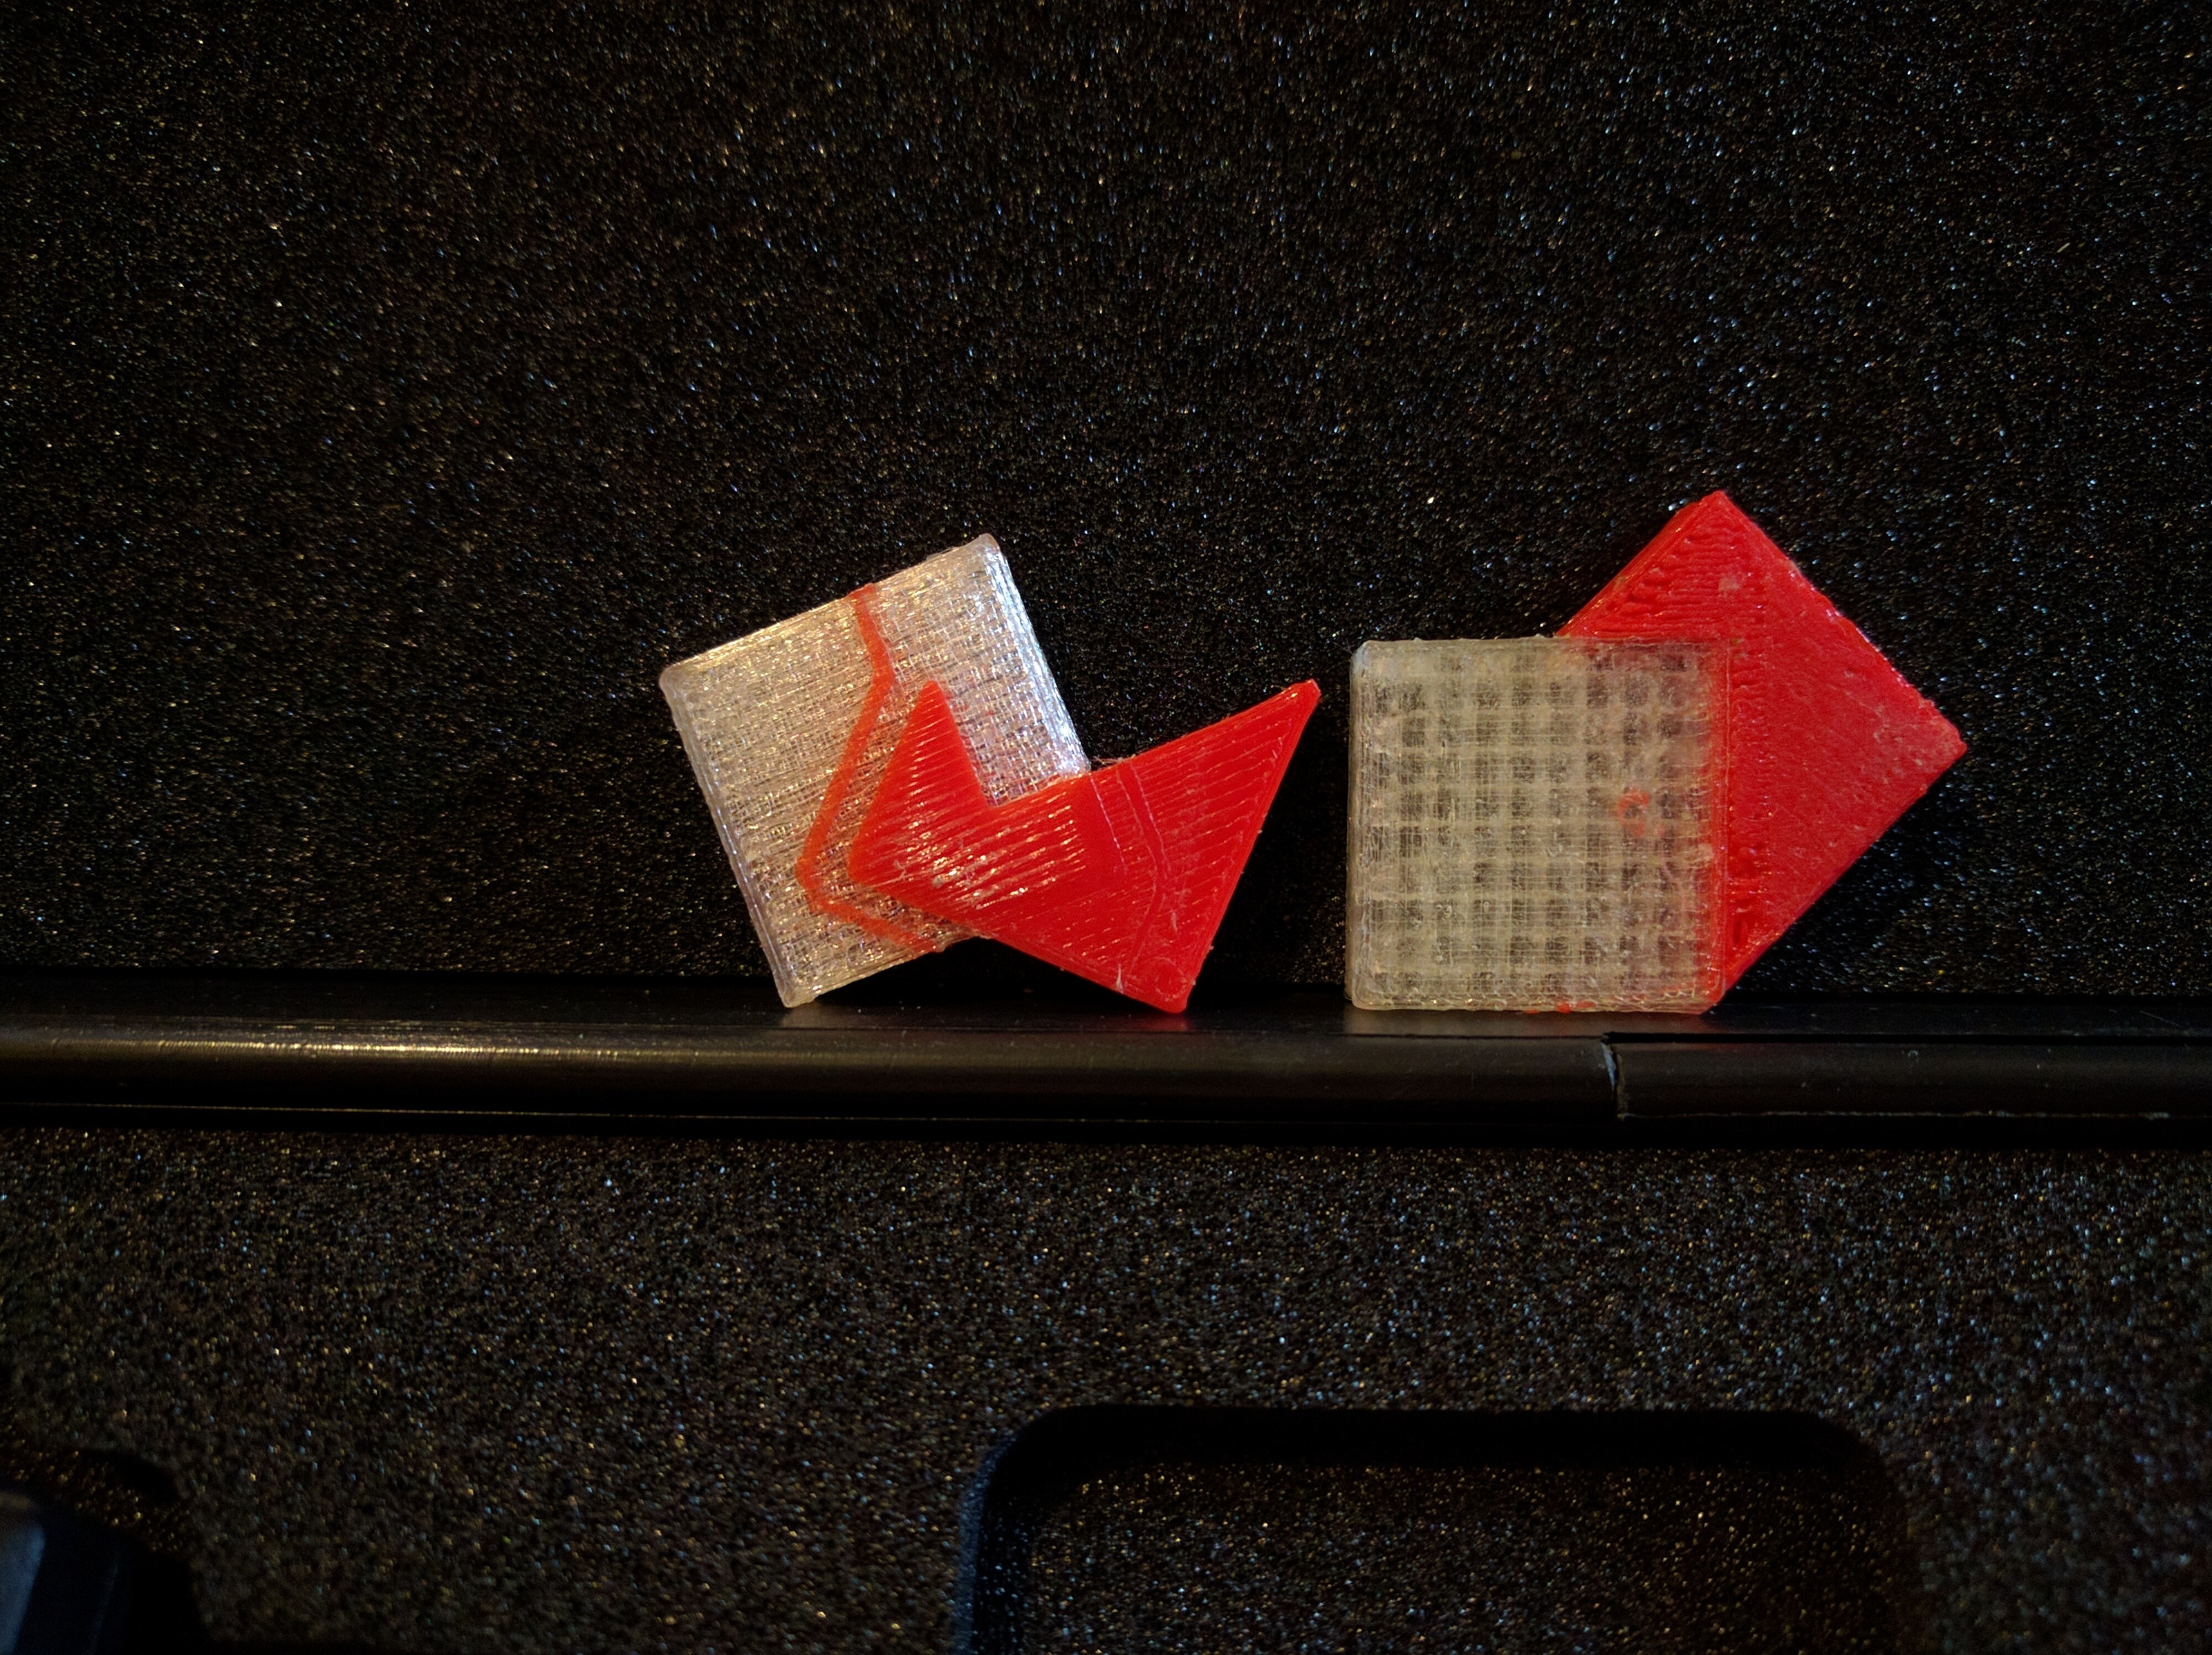
got it. first print was way off. about 14mm set the tool offset to 0 and trying around. Looks closer.
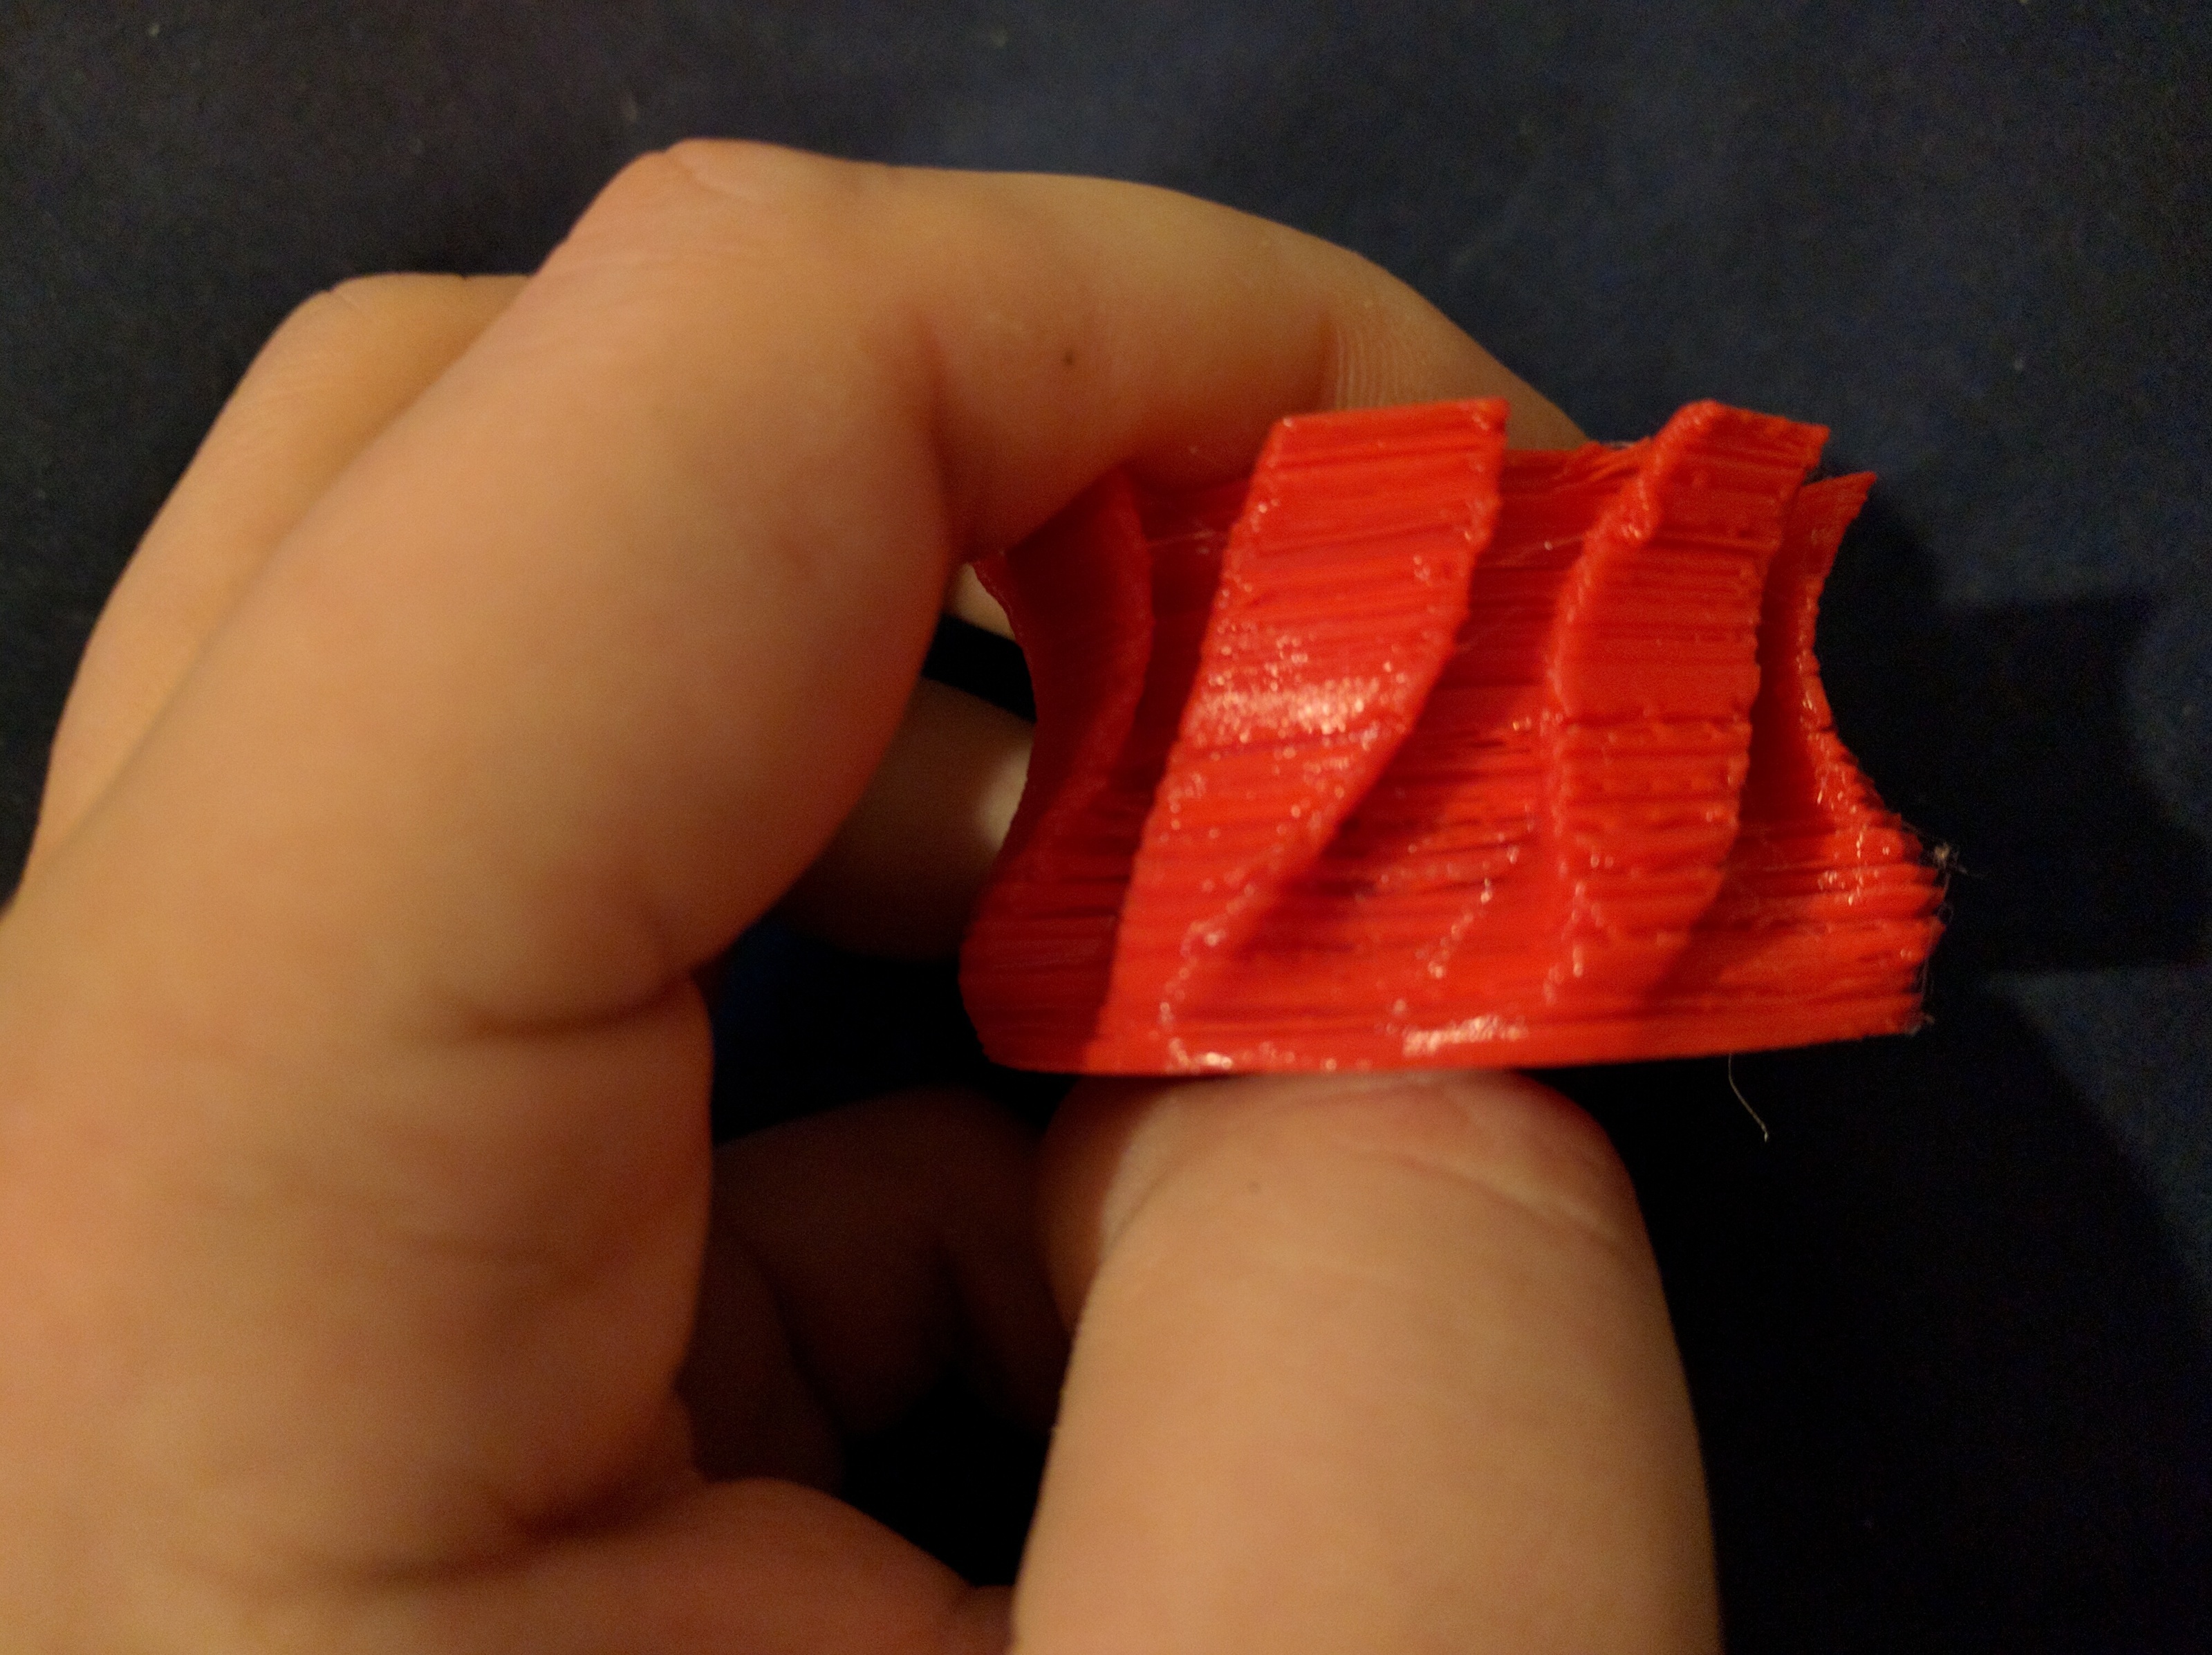
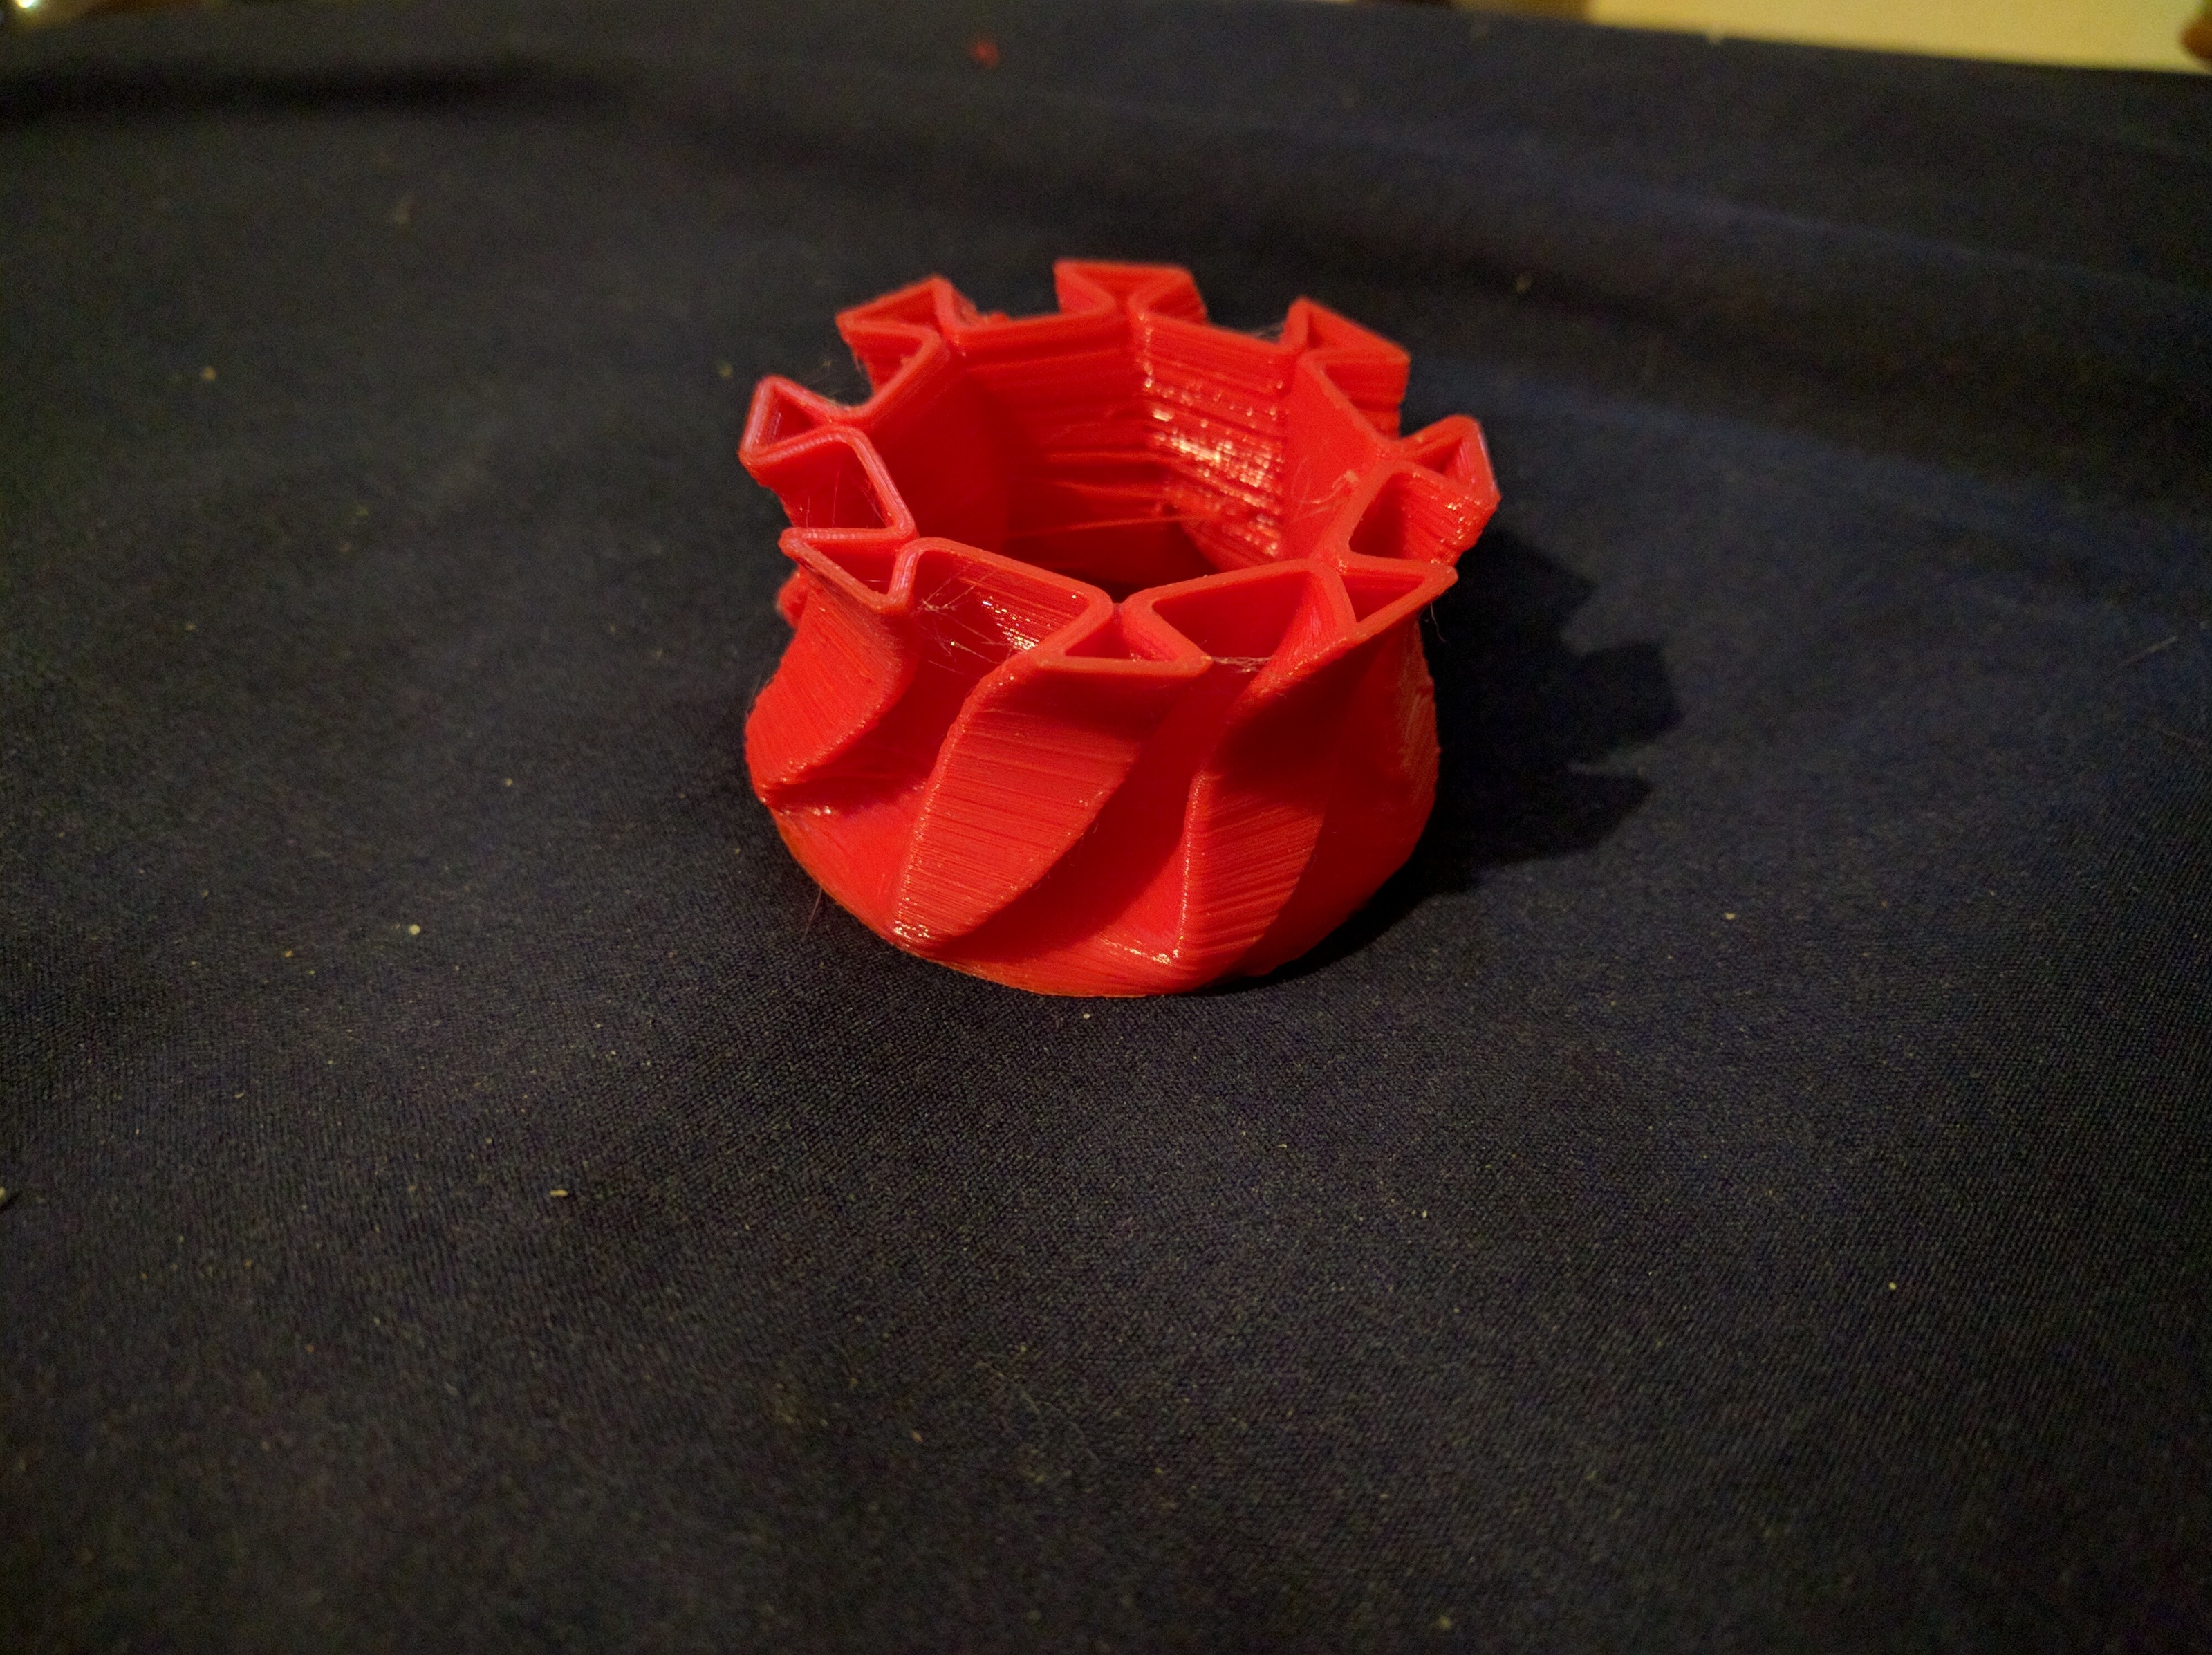
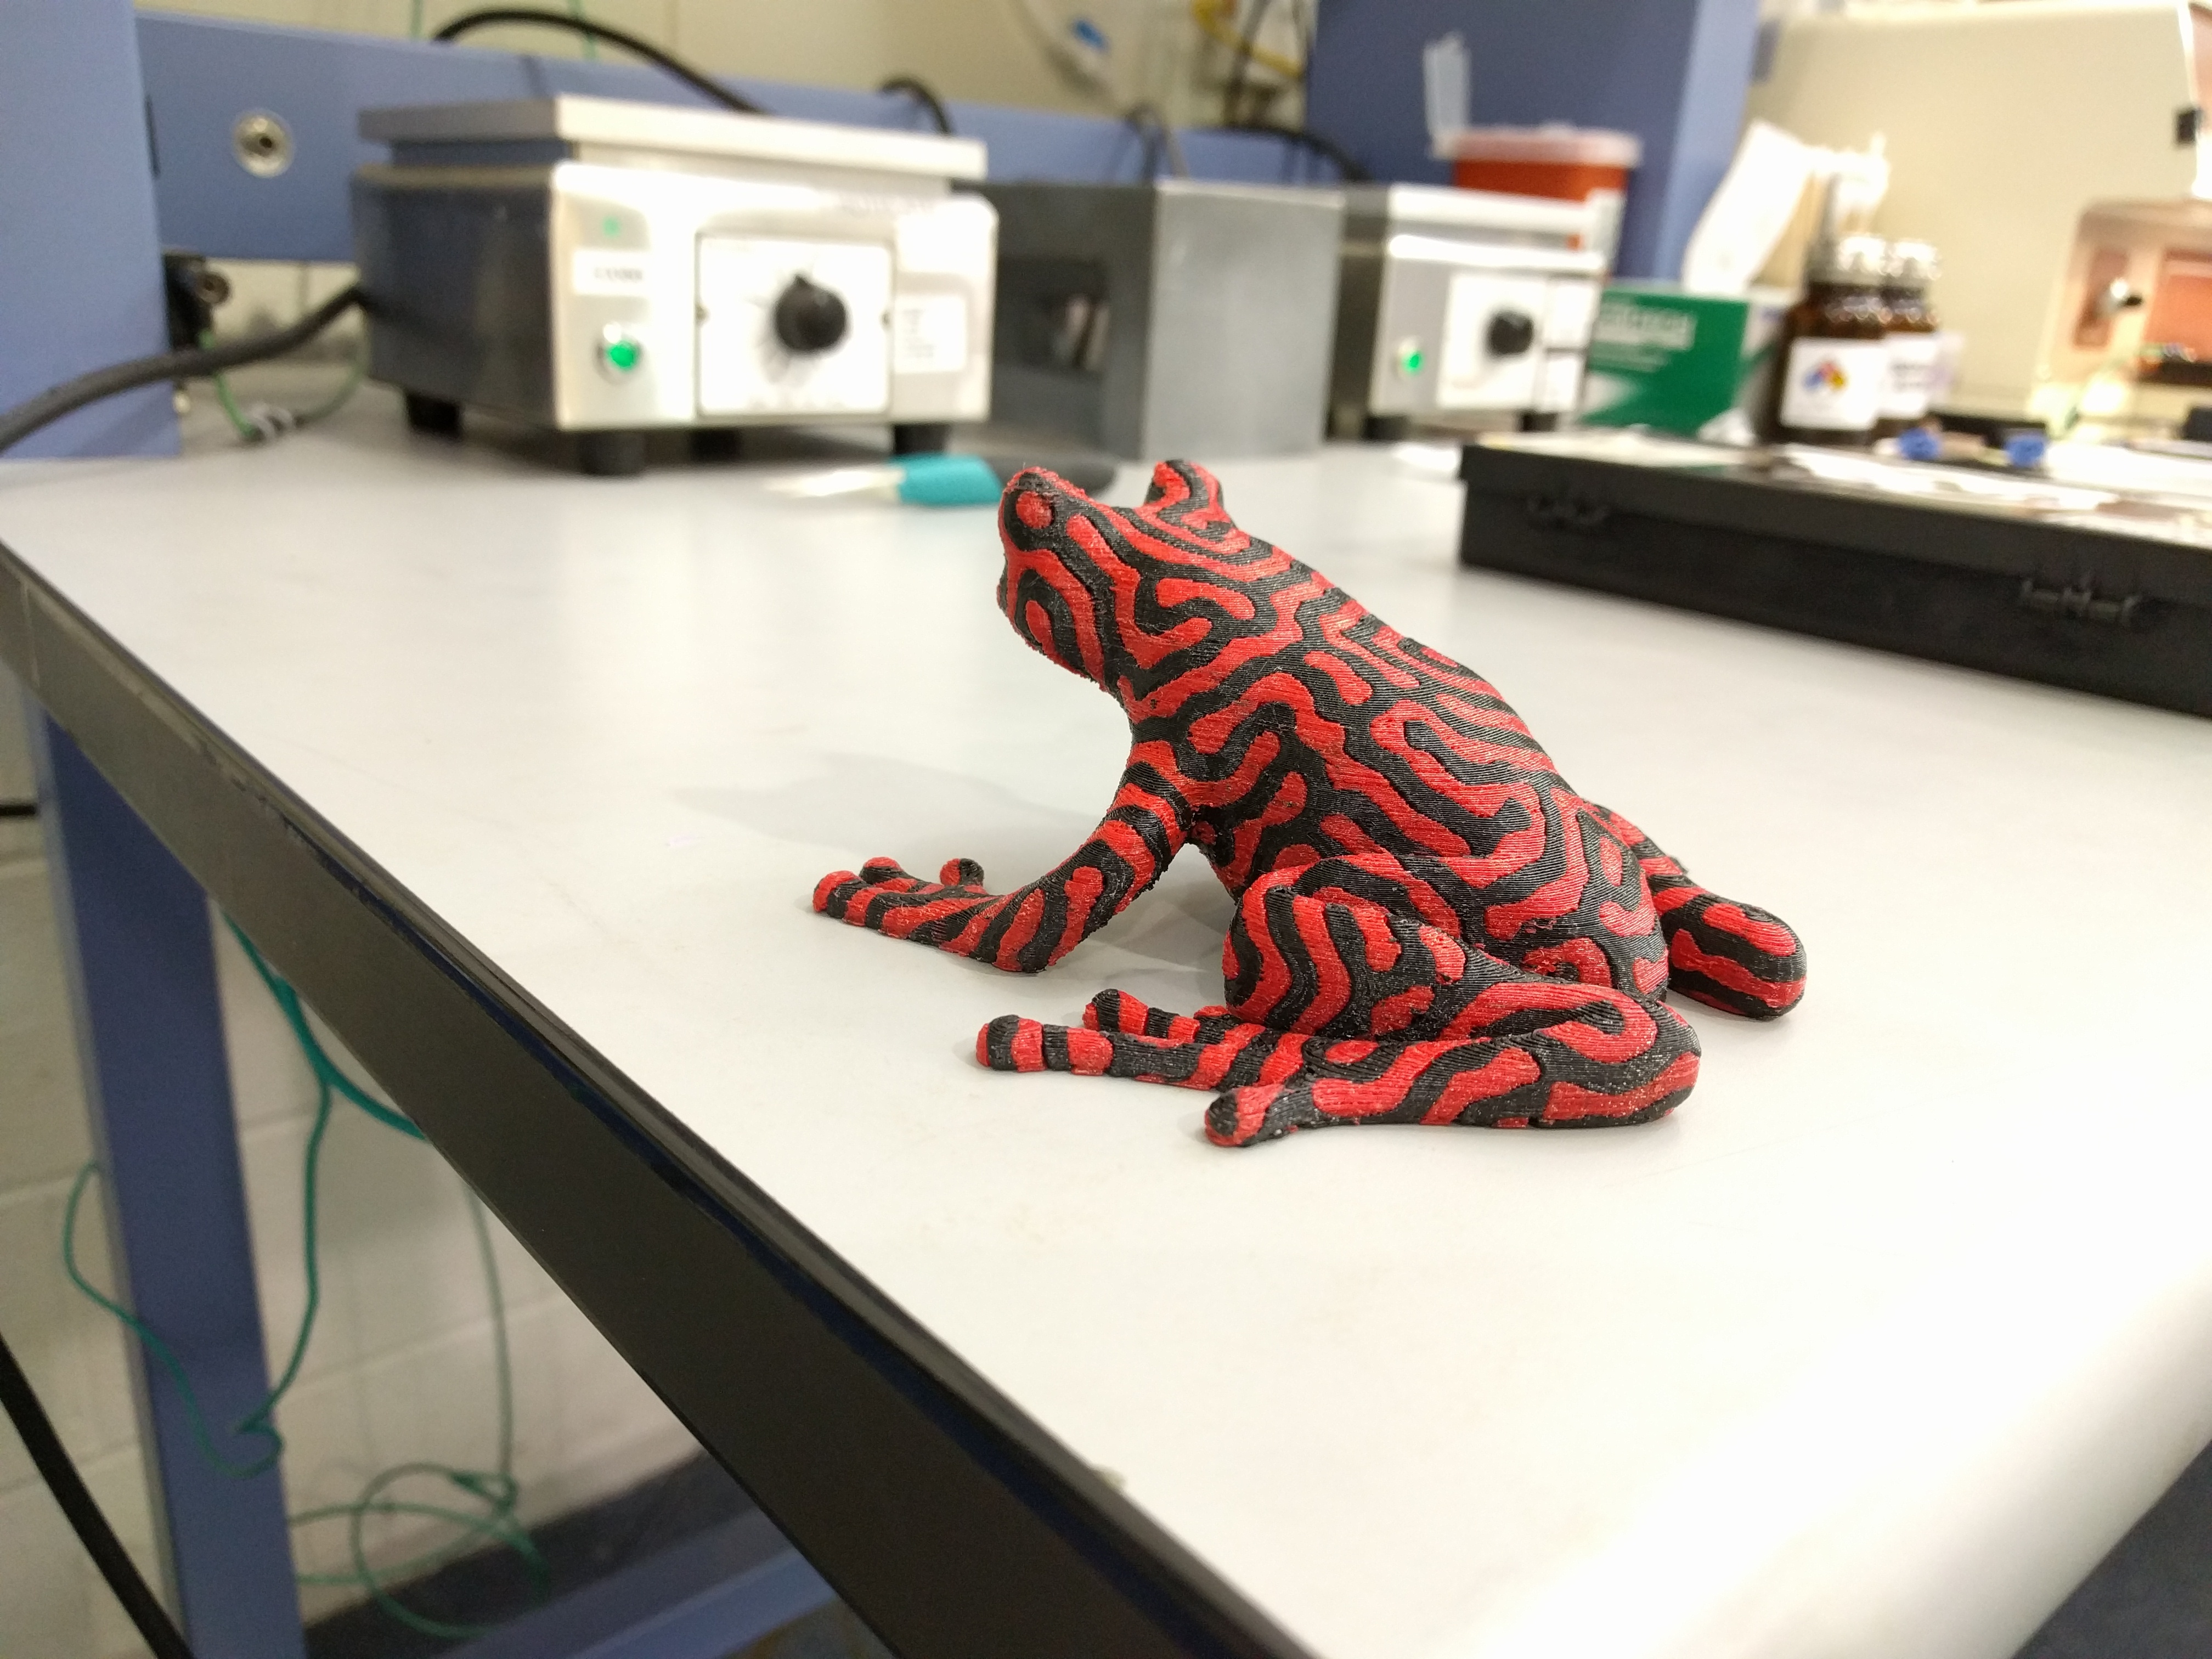
Print 1 and 2. Doing a frog now to see how set up it is. Thanks for all the help printer is printing great. Not use to the acceleration so printing fast is a bit of a shock from my i3 but its printing great. Going to fine tune it now and do some test prints with small detail. I made the uplink wrench on it and it turned out perfect works good so its getting there. Deff. on track for where I wanna be on this thing in terms of calibration. Now to start feeding it the cheap microcenter pla. $18 for 2.2lbs I love it. Prints nice but does need around 230-245c but I’m i3 loves it
Looks like your X axis is loose again.
Nah its good. 2 set screws and thread lock. Single prints look great. When I go dual the left head is off a little. So I just gotta adjust the offsets this is the right head at 100micron 60mm/s. Looks great running a little warm but forgot to turn the temp down. Going to set the offsets to 0 and try again tonight.
Thats good news. Glad to hear it.